Pond Landscaping

Pictures of the creation of a stream and pond in our backyard.... All comments, questions and critiques are welcome! GO TO THE BOTTOM OF THE PAGE TO VIEW THE PICTURES IN ORDER

Tuesday, May 23, 2006

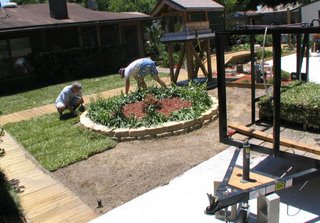
This rooftop picture shows a majority of the landscaping project. There's a huge difference from the pictures of this backyard at the beginning of this Blog until now. A lot of planning and effort went into it. And, a lot of "lessons" learned along the way. But, certainly something that will be enjoyed in the future.

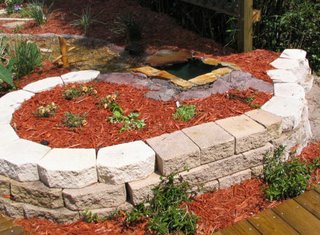
The colors of the mortar, stones, larger rocks and even the mulch are starting to blend together to appear as if the stream has always been in this location. Over time, it will certainly be even more apparent.

The waterfall and stream area now shows some growth from the plants and is starting to fill in nicely.

All of the grass is now in and the landscaping project is completed!

The answer to the question is "No". Fifteen additional pieces of sod had to be purchased to finish the job.

With one side completed, the other side is started. But, is there enough grass left on that trailer to complete the job?

Closer to the walkway, the various pieces of grass had to be adjusted in order to fit. And, in several cases, the pieces had to be cut up to fit into all of the areas correctly.

The sod goes out evenly and makes a big difference in the look of the yard already.

Time to lay out the sod!

Because this is the SECOND walkway for the landscaping project, this idea was done in hopes of avoiding future "buckling" of the boards on the walkway.

Prior to laying out the sod, 2x4's were screwed in under the walkway.

The measurement of the area was slightly over 440 square feet. A full pallet of grass was purchased with the hopes that it would be enough to do the job.

The next portion of this landscape project is putting in new grass on either side of the walkway. Previously, winter rye had been planted and allowed to die off in the spring heat. The soil was then leveled prior to laying out the new sod.

Saturday, May 20, 2006

Some blue Juniper ground cover plants are added around the sign. They should take over most of the area.. however, red mulch is added to keep the weeds out and the moisture in.

In a triangle space between the walkway and the driveway by the garage, there will be a MASH sign (like the one of the television show!) The pole is in place now.. the city signs will be added later.

A palm tree from behind the garage is planted on the other side of the driveway.

The planter is complete with the addition of a few flowers and the red mulch!

Basil, parsley and peppermint were added.

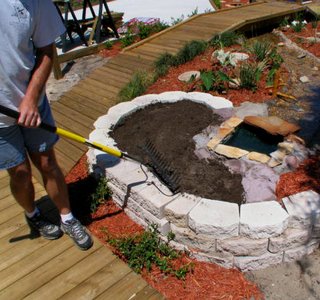
Behind the planter by the waterfall, two jasmine "vines" were planted. Soil was added to the planter to make ready for herbs and flowers.

The new boards make the walkway to the bridge so much nicer.. and, safer!

The new walkway will also be ACQ boards. However, this newer variety is impregnated with
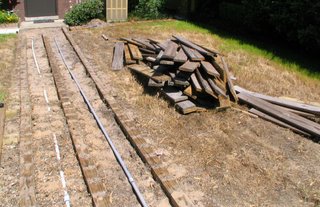
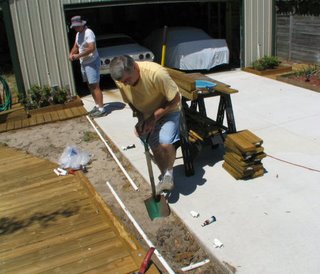
Severe Weather to hopefully prevent warping. Notice the gray and white piping down the walkway. The white pipe is a city water line that goes to the faucet by the garage (see the hose in the background). And, the gray pipe is the electrical line for the pond pump.

All of the boards had to be taken up and removed.

An unexpected project was the walkway from the house to the bridge. The boards had begun to warp. They were ACQ boards that were.. for lack of a better term... junk. They lasted for a few short time before the "curling" began.

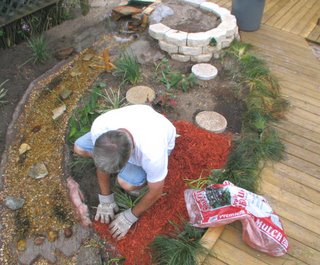
And, as before, red mulch completes the landscaping of this part of the yard.

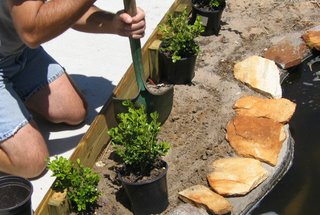
More boxwoods are added next to the wood border and rocks that surround the pond.

In front of the pond and around the pump, is the next area for landscaping.

Red mulch is added to complete this section.

Larger boxwoods are placed between the smaller ones and the bridge. This will give a border to both the driveway and the bridge.

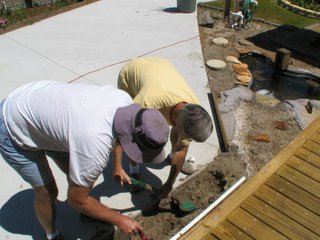
A single board border is added to the side of the driveway to protect the landscape.

The red mulch is completed. And, in the small triangle area to the left, brown mulch is used to show a different color

Once the plants are in place next to the stream, red mulch is added to this area too

Stepping stones are added next to the plants to allow for walking once the plants are grown

All of the trellis sections are now up and plants are ready for planting next to the stream.

Border grass is added to begin the project next to the stream.

In the meantime, the landscaping around the pond and stream continue as red mulch is added.

Green trellis is placed on the boards to add to the landscaping and preform the job of keeping the bamboo.. and, hopefully most of the leaves.. in place.

Now that the concrete has hardened, cross posts are added in front of the bamboo

Once the pipe and sprinkers are done, the plants are put in place

New PVC pipe is put in for the sprinkers that will water the shrubbery.

Meanwhile, a change in the sprinkler system is being done next to the driveway and bridge prior to the landscaping

This picture shows the bamboo leaning over the area of the stream. It will be trimmed backed to prevent a majority of the leaves from falling into the stream.

Concrete is poured for a post next to the bamboo.. located near the waterfall. There will be another post on the opposite end of the bamboo.

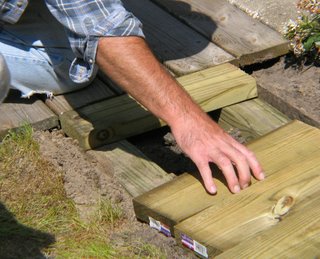
Leftover boards from the other walkways are used making for a slimmer walkway. However, this is not a high traffic area. So, it will work out fine.

Directly behind the house, a wooden walkway to the house generator (inside wooden box left rear of picture) will be put in place

This angle from the garage shows the two walkways, Notice the left walkway has been "trimmed" to straight sides. The right walkway will be done the same once the nails are completed.

Behind the waterfall area the decking is continued that will connect the garage to the above ground pool and the storage shed underneath it

Sunday, April 30, 2006

The water reaches the pond where larger stones have been placed around it. Note the large rock in the water. That is part of a "frame" made to correct the vortex over the drain shown in a previous picture.

Here it is with water flowing over it.

Looks like the "bed" of natural stream in the woods.. doesn't it?

The placement of larger stones/rocks in the mortar helps continue with the same idea that this stream was done by Mother Nature.

Website Counter
Hit Counters